
How to Edit a Video on Laptop: Top 7 Free Video Editors Without Watermark
Videos have become an integral part of our lives. Whether it’s for personal or professional use, editing a video can greatly enhance its quality and make it more engaging for the audience. However, finding the right video editing software that meets your needs and doesn’t leave an annoying watermark can be challenging. In this article, we will explore the top free video editor no watermark and provide a step-by-step guide on how to edit a video on your laptop.
Importance of Video Editing
Video editing allows you to unleash your creativity and transform raw footage into a polished, professional-looking video. Whether you’re creating content for YouTube, social media, or a presentation, video editing enables you to add special effects, transitions, music, and text to make your video more compelling and engaging. It also allows you to trim and cut unwanted parts, adjust audio levels, and enhance the overall visual appeal of your video.
Choosing the Right Video Editing Software
When it comes to choosing the right video editing software for your laptop, several factors should be taken into consideration. These include ease of use, available features, compatibility with your laptop’s operating system, and of course, the absence of watermarks on the final output. Fortunately, there are several free video editing software options available that meet these criteria.
Top 7 Free Video Editors Without Watermark
- Shotcut: Shotcut is a powerful and user-friendly video editing software that is available for Windows, Mac, and Linux. It supports a wide range of video formats and provides advanced features such as 4K resolution support, multi-track editing, and a variety of video and audio filters. Shotcut also allows you to export your videos without any watermarks, making it an excellent choice for professional use.
- OpenShot: OpenShot is another popular free video editor that offers a simple and intuitive user interface. It provides a range of features, including video transitions, compositing, keyframes, and time-mapping. OpenShot supports various video, audio, and image formats and allows you to export your videos in high definition without any watermarks.
- DaVinci Resolve: DaVinci Resolve is a professional-grade video editing software that offers a free version with impressive capabilities. It provides advanced color correction, audio post-production, and visual effects tools. DaVinci Resolve’s free version also allows you to export videos in up to 4K resolution without any watermarks.
- HitFilm Express: HitFilm Express is a feature-rich video editing software that combines professional-grade editing tools with an intuitive interface. It offers advanced visual effects, compositing, and motion graphics capabilities. HitFilm Express allows you to export your videos without watermarks, making it an excellent choice for aspiring filmmakers and YouTubers.
- VSDC Free Video Editor: VSDC Free Video Editor is a non-linear video editing software that provides a wide range of visual and audio effects. It supports various video and audio formats and offers advanced features such as color correction, object transformation, and audio waveform visualization. VSDC Free Video Editor allows you to export your videos in high quality without any watermarks.
- Lightworks: Lightworks is a professional-grade video editing software that offers a free version with robust features. It supports a wide range of video formats and provides advanced editing tools, including real-time effects, multi-camera editing, and precision trimming. Lightworks allows you to export your videos in up to 720p resolution without any watermarks.
- Blender: Although primarily known as a 3D modeling and animation software, Blender also offers video editing capabilities. It provides basic video editing tools, including cutting, splicing, and audio mixing. Blender allows you to export your videos without watermarks, making it a suitable option for simple video editing tasks.
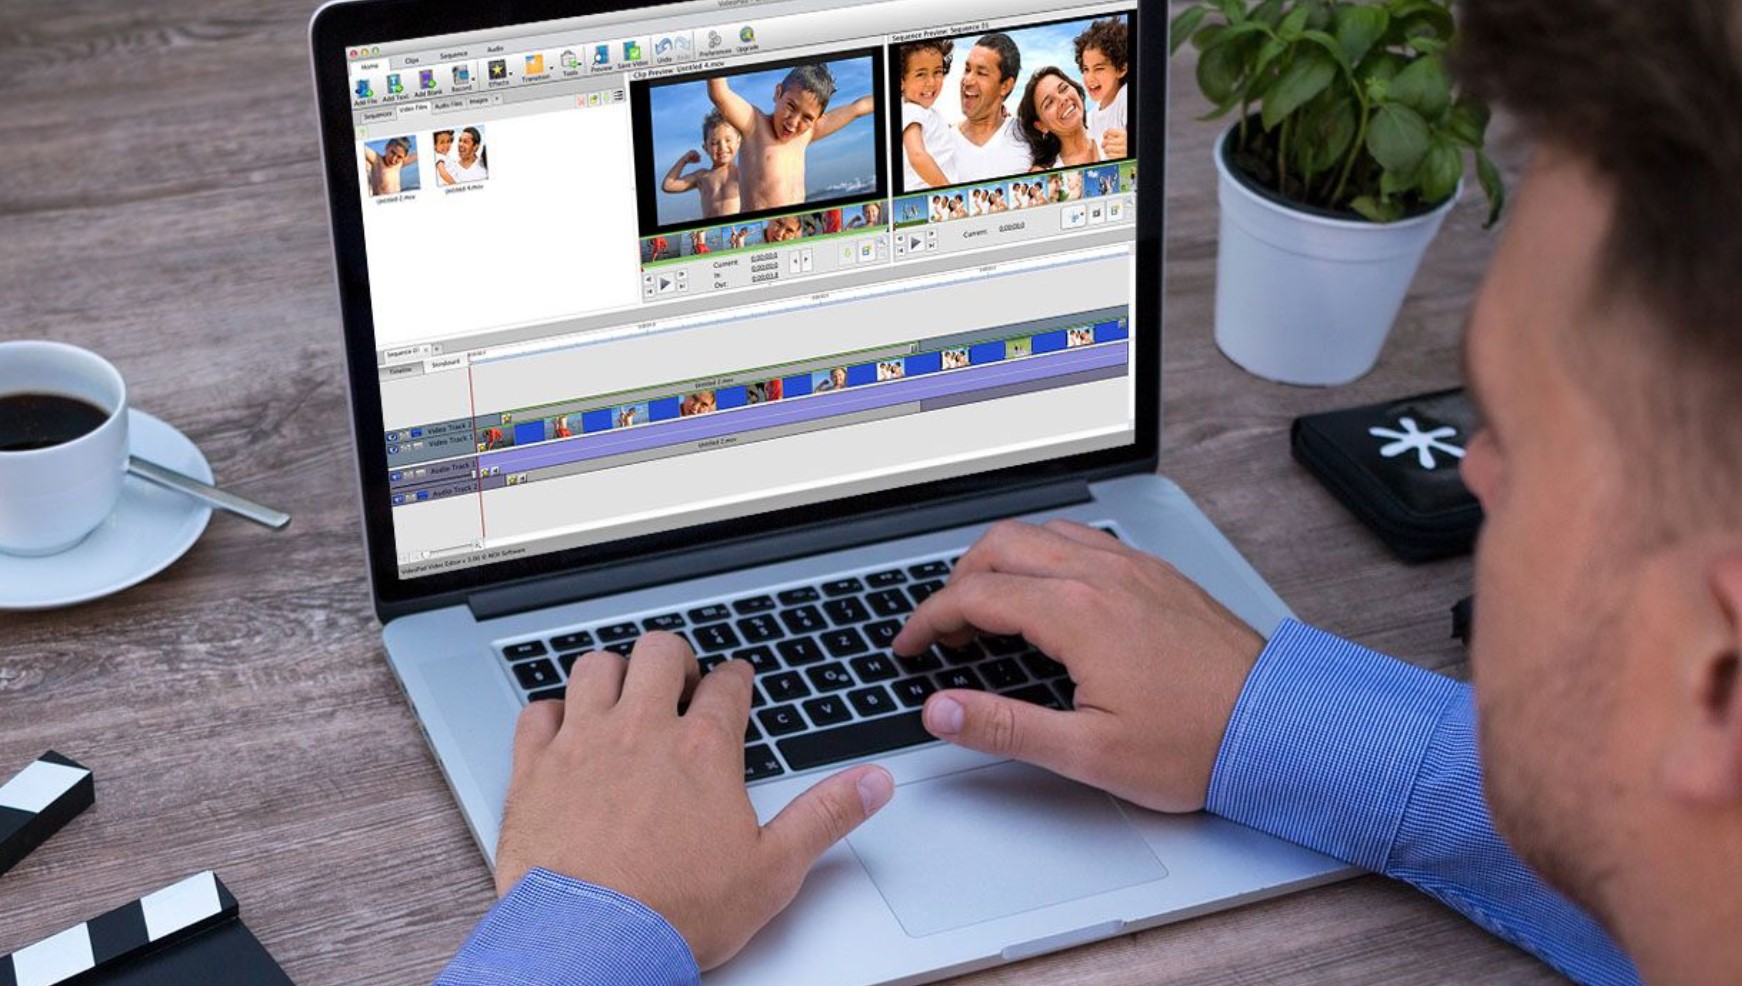
Step-by-Step Guide to Editing a Video on a Laptop
Now that you have chosen the right video editing software, let’s walk through the process of editing a video on your laptop. Follow these steps:
- Importing the video files: Launch the video editing software and import the video files you want to edit into the software’s media library.
- Trimming and cutting clips: Use the software’s trimming and cutting tools to remove any unwanted parts from your video clips and create a cohesive sequence.
- Adding transitions and effects: Enhance the visual appeal of your video by adding transitions between clips and applying effects such as filters, overlays, and color corrections.
- Adjusting audio: Use the software’s audio editing tools to adjust the volume levels, remove background noise, and add background music or voiceovers to your video.
- Adding titles and captions: Incorporate titles, captions, and subtitles to provide context, highlight key points, and make your video more informative.
- Exporting the final video: Once you are satisfied with your edits, export the final video in your desired format and resolution, ensuring that no watermarks are added to the output.
Editing a video on your laptop can be a fun and creative process, especially when you have the right video editing software at your disposal. By choosing one of the top 7 free video editors without watermarks mentioned in this article and following the step-by-step guide provided, you can easily edit your videos and unleash your creativity. So, go ahead, explore these software options, and start creating amazing videos that captivate your audience.

Jeremy Brosius is a Senior Editor for Comeover.io, a leading tech website that focuses on PC hardware and gaming. With a deep passion for technology and an extensive knowledge of the PC hardware scene, Jeremy has become a well-known figure in the industry.
To contact the author, please reach out via email.