
Unifying Videos: A Comprehensive Step-by-Step Guide to Combining MP4 Files
Feeling overwhelmed by the jumble of MP4 video files on your hands? Ever yearned for a straightforward method to unite them into one seamless video? Well, consider yourself fortunate! Within the pages of this in-depth guide, we’ll embark on a journey together to unveil the craft of merging MP4 files. As you reach the culmination of this article, you’ll possess the skill to blend your videos effortlessly, like a seasoned pro. Go ahead, grab your popcorn, and let’s plunge into the realm of video amalgamation!
Imagine you’ve recorded a series of short video clips during your vacation – breathtaking sunsets, thrilling adventure activities, and delicious local cuisine. Each clip is a masterpiece in itself, but wouldn’t it be amazing to create one epic video that captures the essence of your entire trip? That’s where combining MP4 files comes into play!
In the wild and wacky world of this article, we’re about to hold your hand through the mystical ritual of melding your MP4 videos into one epic, supercalifragilisticexpialidocious masterpiece. Whether you’re a vlogging virtuoso eager to craft a captivating saga or just a regular Joe tired of your video library looking like a digital attic, consider us your video unification Sherpas. Grab your popcorn, folks; it’s time to dive headfirst into this exhilarating video amalgamation escapade!
Why Combine MP4 Files?
- Streamlined Viewing Experience
Have you ever started watching a TV series only to be interrupted by endless opening credits and recaps in each episode? Combining MP4 files eliminates the need to click through multiple videos, providing a smoother viewing experience. Your audience will thank you for it!
- Storytelling Power
Do you want to tell a captivating story through your videos? Merging MP4 files allows you to craft a narrative by seamlessly transitioning from one scene to another. It’s like being the director of your own mini-movie!
- Enhanced Aesthetics
Individual video clips may have varying aspect ratios, resolutions, or color profiles. Combining them can help maintain visual consistency, ensuring your final video looks polished and professional.
- Declutter and Organize
If you’re running out of storage space on your device due to an overflow of MP4 files, combining them can help you tidy up your video library. A neat and organized collection is a joy to browse.
- Save Time
Let’s face it, no one enjoys searching for and clicking through multiple files. Combining MP4 files into one saves you time, making it easier to access and share your content.
Choosing the Right Tools
Hold onto your digital aprons, folks, because before we dive headfirst into the video merging adventure, let’s chat about the tools you’ll want to stock in your digital pantry. Picture this: it’s a vast smorgasbord of software out there, from the “free as a picnic in the park” to the “time to cough up some digital dough” variety. Think of it as a culinary buffet for your tech taste buds, and we’re your trusty food critics, here to guide you to the most delectable options. So, grab your virtual shopping cart, and let’s take a leisurely stroll down the software aisle, shall we?
- Filmora Video Editor (Paid)
Filmora is a versatile and user-friendly video editing software. It offers a range of features, including the ability to combine MP4 files effortlessly. This is a great option if you want more control over your video editing process.
Pros of Filmora Video Editor:
- User-Friendly Interface: Filmora’s interface is so user-friendly that even a technophobic cat could use it without a whisker of trouble. It’s as intuitive as a cat chasing a laser pointer, which is perfect for video-editing newbies. And if you can manage to drag a feather toy, you can definitely handle the drag-and-drop functionality that makes editing a piece of cake.
- Wide Range of Editing Tools: Filmora isn’t just a friendly face; it’s like a Swiss Army knife for video editing. Despite being as approachable as a neighbor’s dog, it comes armed with an arsenal of editing tools – trimming, cutting, splitting, transitions, text, and more. It’s like having a toolbox the size of a T-Rex, but without the prehistoric clumsiness. Filmora strikes the perfect balance between simplicity and functionality, much like a tightrope-walking squirrel with a toolkit.
- Built-in Effects and Filters: Filmora doesn’t stop at being user-friendly; it’s also the Picasso of video effects. It’s got a library of built-in effects, transitions, and filters that can turn your videos from drab to fab in a few clicks. Think of it as having a magic wand that sprinkles cinematic fairy dust on your footage. It’s like having a personal special effects wizard at your beck and call, but without the pointy hat and the long spells.
- Music Library: The software provides access to a music library, allowing users to add background music to their videos without worrying about copyright issues. This is a handy feature for content creators.
- Support for Various Formats: Filmora supports a wide range of video and audio formats, making it versatile for working with different types of media files.
Cons of Filmora Video Editor:
- Limited Advanced Features: While Filmora is suitable for beginners and intermediate users, it may lack some advanced features that professional video editors require. Professionals may find it somewhat limiting in terms of advanced video manipulation.
- Watermark in Free Version: The free version of Filmora adds a watermark to exported videos, which can be removed by purchasing a paid license. This can be a drawback for users who want to create watermark-free content without investing in the software.
- Limited Color Grading: Filmora’s color grading capabilities are basic compared to more advanced video editing software. Users seeking in-depth color correction and grading options may find it insufficient.
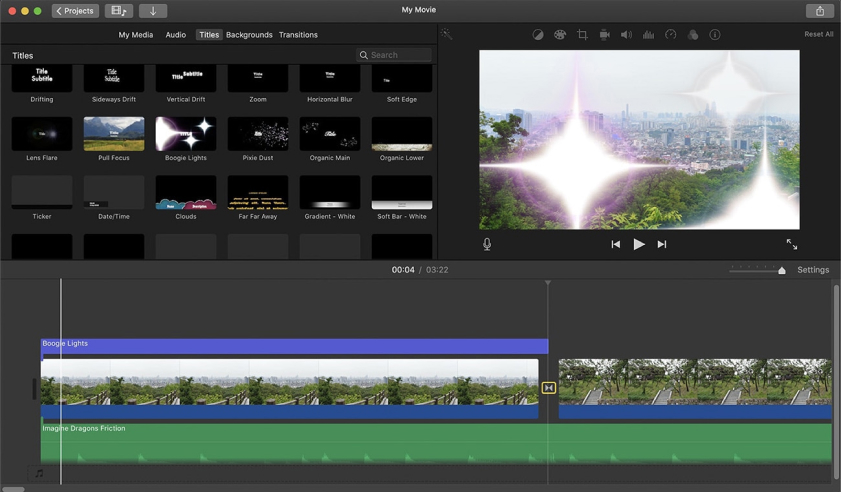
- iMovie (Free for Mac Users)
If you’re a Mac user, you’re in luck! iMovie comes pre-installed on most Mac devices and offers a straightforward way to combine MP4 files. It’s perfect for beginners.
Pros of iMovie:
- User-Friendly Interface: iMovie is known for its intuitive and user-friendly interface, making it an excellent choice for beginners and those new to video editing.
- Free for Mac Users: iMovie comes pre-installed on most Mac devices, which means you don’t have to spend extra money on video editing software if you already own a Mac.
- Simple Editing Tools: It offers basic video editing tools like cutting, trimming, and splitting clips, as well as adding transitions, effects, and text overlays.
Cons of iMovie:
- Limited Advanced Features: While iMovie is excellent for basic video editing, it lacks the advanced features and capabilities found in professional-grade software like Adobe Premiere Pro or Final Cut Pro.
- Mac Exclusive: iMovie is exclusively available on Mac devices, which means it’s not accessible for Windows users.
- Limited Export Options: It offers a limited range of export options compared to more advanced video editing software, which may be a limitation for users with specific output requirements.
- HandBrake (Free and Open Source)
HandBrake is a free and open-source video transcoder that can also merge MP4 files. While it might not be as user-friendly as some other options, it’s powerful and highly customizable.
Pros of HandBrake:
- Open Source: HandBrake is open-source software, which means it’s free to use and constantly updated by a community of developers. This makes it accessible to a wide range of users.
- Cross-Platform Compatibility: HandBrake is available for Windows, macOS, and Linux, making it versatile and accessible to users on different operating systems.
- Video Format Support: HandBrake supports a wide range of video formats, including popular ones like MP4, MKV, and AVI, as well as more specialized formats.
Cons of HandBrake:
- Steep Learning Curve: HandBrake’s interface can be intimidating for beginners, and some users may find it challenging to navigate initially.
- Limited Editing Features: While HandBrake excels at video conversion and compression, it lacks advanced video editing capabilities. You may need additional software for tasks like cutting and splicing videos.
- No DVD Decryption: In previous versions, HandBrake could be used for DVD decryption, but this feature has been removed due to legal concerns. Users who want to rip DVDs may need to seek other tools.
- Online Tools (Free and Paid)
There are various online tools available that allow you to combine MP4 files without the need for software installation. Websites like Online-Convert.com and Clideo.com offer simple interfaces for merging your videos.
Pros of online tools:
- Accessibility: Online tools are typically accessible from any device with an internet connection. This means you can use them on your computer, tablet, or even smartphone, making them highly versatile and convenient.
- No Installation Required: You don’t need to download or install software when using online tools. This eliminates the need for storage space and reduces the risk of compatibility issues with your device’s operating system.
- Cost-Efficient: Many online tools offer free or freemium versions, making them budget-friendly for users. You often have the option to upgrade to premium versions with advanced features if needed.
Cons of the online tools:
- Internet Dependency: Online tools rely on a stable internet connection. If your connection is slow or unreliable, it can lead to frustrating delays and interruptions while using the tool.
- Privacy Concerns: When using online tools, you may need to upload or store sensitive data in the cloud. This can raise privacy and security concerns, especially if the tool’s data handling practices are not transparent.
- Limited Offline Access: Most online tools require an internet connection to function. If you’re in an area with poor or no internet access, you won’t be able to use the tool unless you have an offline mode or a downloadable version available.
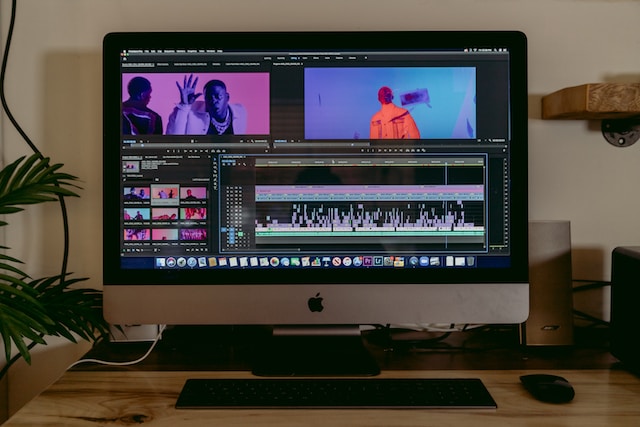
Step-by-Step Guide to Combining MP4 Files
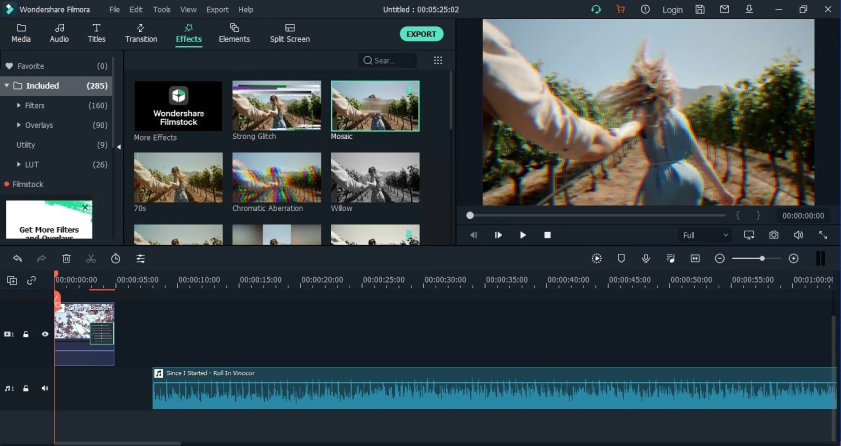
Now that you know why combining MP4 files is a game-changer and have the right tools at your disposal, let’s dive into the step-by-step process. We’ll be using Filmora Video Editor for this guide, but the general principles apply to most video editing software.
Step 1: Install and Launch Your Video Editing Software
Assuming you’ve chosen your preferred video editing software (in our case, Filmora), the first step is to install and launch the program. Follow the installation instructions provided by the software.
Step 2: Import Your MP4 Files
Once the software is up and running, it’s time to import your MP4 files. This is usually done by clicking on the “Import” or “Add Files” button. Select all the video clips you want to combine and import them into your project.
Step 3: Arrange Your Clips
With your clips imported, you’ll see them in your project timeline. Arrange them in the order you want them to appear in your final video. You can simply drag and drop the clips to reorder them.
Step 4: Combine the Clips
Now comes the magic moment! Look for an option like “Merge” or “Combine” in your software. In Filmora, it’s as easy as right-clicking on the clips and selecting “Combine.”
Step 5: Preview and Export
Before finalizing your video, it’s essential to preview it. Check for any issues in the sequence or transitions. Once you’re satisfied, hit the export button. Choose your desired settings, such as resolution and format, and let the software work its magic.
Step 6: Save Your Masterpiece
After exporting, save your combined MP4 file in a location of your choice. Give it a descriptive name so you can easily find it later.
And there you have it! You’ve successfully combined your MP4 files into one cohesive video. Now, let’s explore some tips and tricks to take your video merging skills to the next level.
Tips and Tricks for a Flawless Merge

- Smooth Transitions
To make your merged video flow seamlessly, pay attention to transitions between clips. You can use fade-ins, fade-outs, or creative wipes to achieve a polished look.
- Audio Considerations
Don’t forget about the audio! Ensure that the audio from each clip blends smoothly into the next. You can use audio fades or crossfades to achieve this.
- Adding Text and Effects
Want to enhance your video further? Most video editing software allows you to add text, filters, and effects. Get creative and make your video stand out.
- Maintain Aspect Ratio
If your clips have different aspect ratios, ensure that you maintain consistency throughout the video. You can add borders or crop clips to achieve this.
- Experiment and Have Fun
Video editing is an art, so don’t be afraid to experiment. Try out different transitions, effects, and styles to find what works best for your content.
Editing Your Combined MP4

So, you’ve successfully combined your MP4 files, and now you want to take your video to the next level. Editing is where you can truly unleash your creativity. Here are some common editing tasks you might want to consider:
- Trimming: Remove unwanted sections from your video to keep it concise and engaging.
- Adding Music: Enhance the mood of your video by adding a suitable soundtrack.
- Voiceovers: Record and overlay your voice to provide context or narration.
- Color Correction: Adjust the color and tone to achieve a consistent look.
- Text and Titles: Insert captions, titles, and subtitles to convey information.
- Special Effects: Get fancy with special effects and animations to captivate your audience.
Remember, the editing process is where your video truly comes to life, so don’t rush through it. Take your time to fine-tune every detail.
Troubleshooting Common Issues
Even seasoned video editors encounter challenges. Here are some common issues and how to address them:
- Video Quality Loss
If you notice a drop in video quality after merging, ensure you’re exporting your video with the highest quality settings. Compression can lead to loss of quality.
- Sync Issues
Sometimes, audio and video may become unsynchronized after merging. To fix this, ensure that your editing software maintains the original audio-to-video alignment.
- Large File Size
Merged videos can be quite large. Consider using a video compressor to reduce the file size without sacrificing too much quality.
- Software Crashes
If your video editing software crashes during the merging process, make sure you’re using the latest version of the software and have enough system resources available.
- Copyright Concerns
Be cautious with copyrighted material in your videos. Ensure you have the necessary rights or permissions to use any music, images, or clips.
Conclusion
Congratulations! You’ve now mastered the art of combining MP4 files. Whether you’re creating a travel vlog, a compilation of funny moments, or a professional presentation, the ability to merge videos will undoubtedly elevate your content.
Remember, video editing is a skill that gets better with practice. Don’t be discouraged if your first attempt isn’t perfect—keep experimenting, learning, and refining your techniques. Soon, you’ll be producing stunning, unified videos that captivate and entertain your audience.

Jeremy Brosius is a Senior Editor for Comeover.io, a leading tech website that focuses on PC hardware and gaming. With a deep passion for technology and an extensive knowledge of the PC hardware scene, Jeremy has become a well-known figure in the industry.
To contact the author, please reach out via email.